Eclipse is an Integrated Development Environment (IDE) written in Java. It can be used to edit Java files, it contains an integrated compiler, a debugger, etc.
Using SSJ with Eclipse simply requires the setup of the build path in order to tell Eclipse where the classes can be found. A one-time setup is needed to link Eclipse with the classes, and a project-specific part adds SSJ to a project's build path. We will now detail these two steps. This procedure was tested with Eclipse 3.2, but it may work with newer versions of Eclipse. It should also work for using other third-party libraries with Eclipse.
See the home page and on-line help of Eclipse for more information on how to use this IDE.
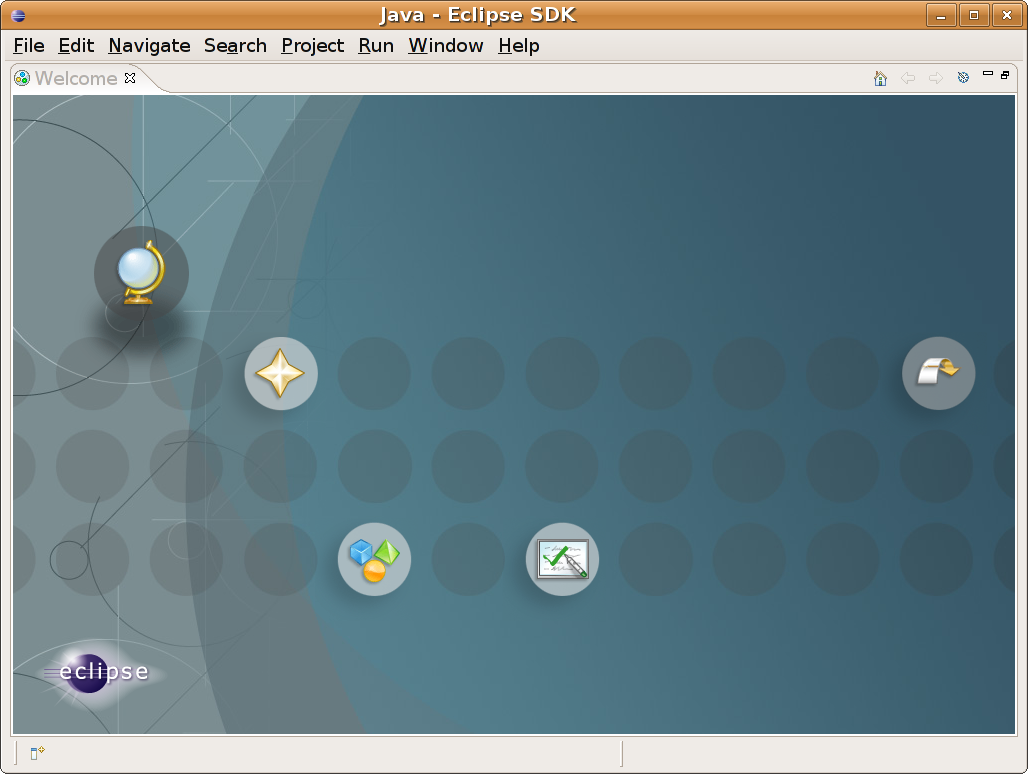
When Eclipse is started for the first time, a welcome screen similar to the next figure appears. This can be closed using the X near the label Welcome.
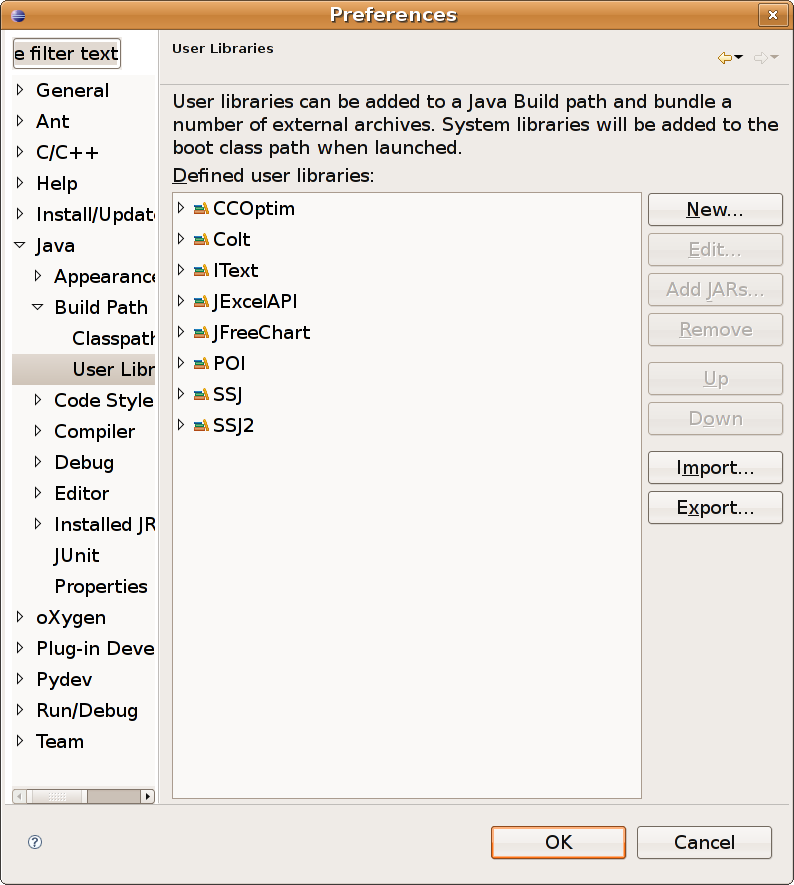
The preferences of Eclipse must be accessed using the Preferences command of the Window menu. In the left part of the dialog box that comes up, the user selects Java, Build Path, and User Libraries. This shows a list of the installed user libraries similar to the next figure.
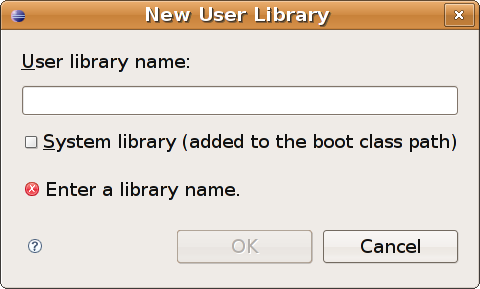
A new user library is created using the New button. Eclipse then asks for the name given to the library. The user can enter any meaningful name, e.g., SSJ.
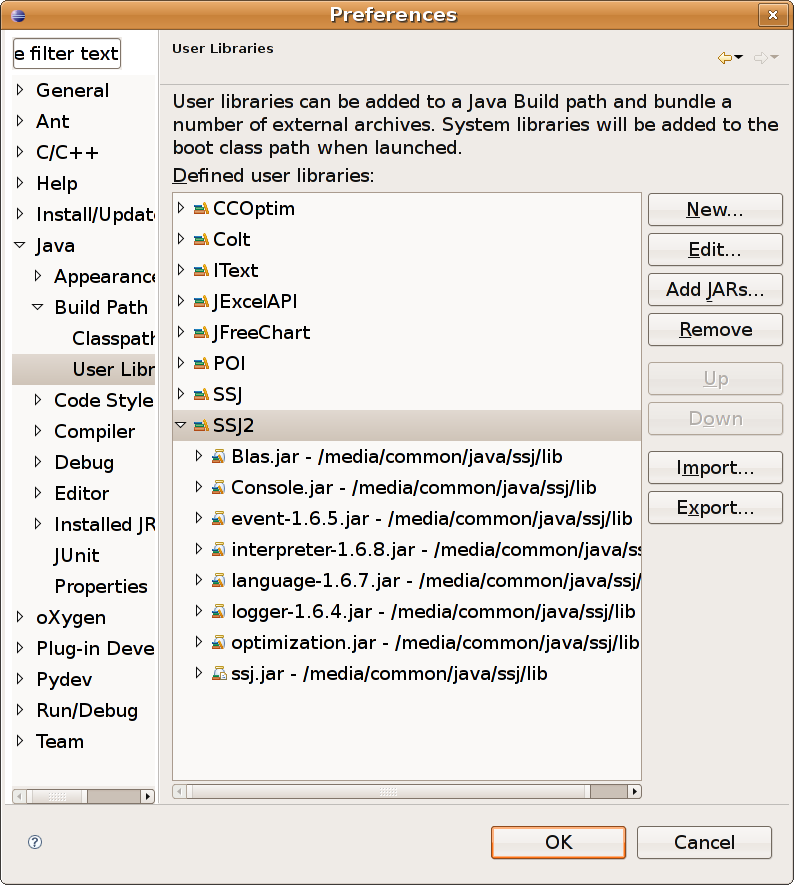
The user then selects the newly-created library, and clicks on the Add JARs button to add archives into the library. He then selects every JAR file in the lib subdirectory of SSJ. After the operation, the archives appear as children of the user library, as on the next figure. The preferences can then be closed using the OK button.
In Eclipse, a project can be created using the command File, New, Project. For a Java project, the user selects the Java project child of Java, and follows the instructions.
Any Java project registered with Eclipse can be accessed through the Package Explorer of Eclipse. The user must right-click on the name of the project needing SSJ, and select Properties. In the left part of the dialog box that comes up, the user selects Java Build Path. He then clicks on the Libraries tab.
Note that the project must be opened for the build path to be accessible.
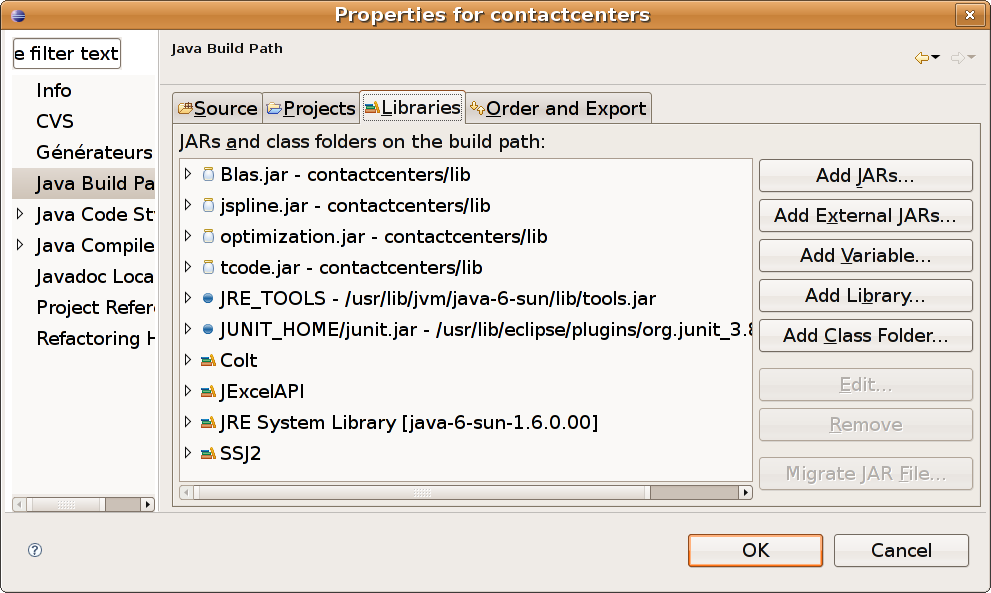
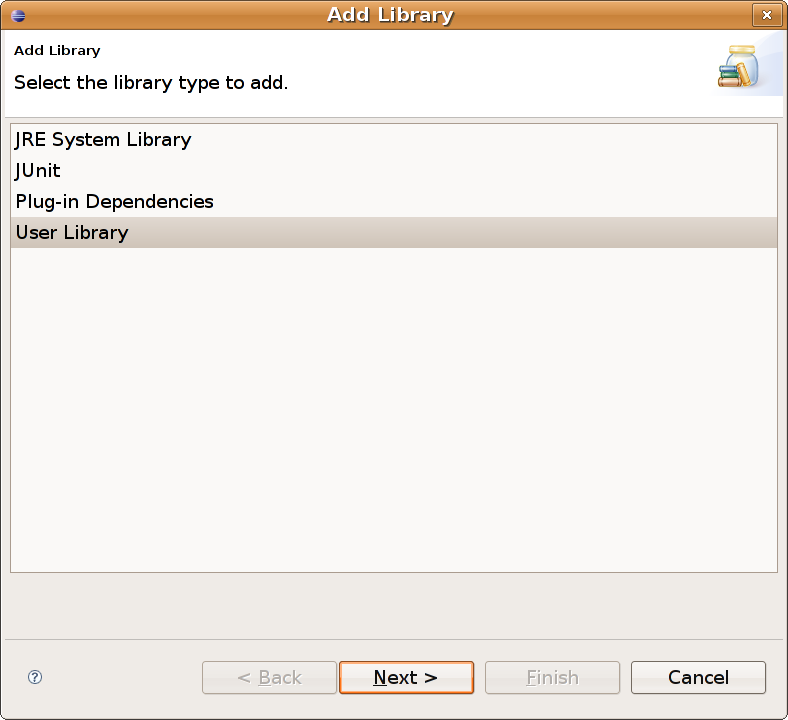
The user then clicks on the button Add Library. In the dialog box that comes up, he selects User Library, and clicks on the Next button.
The user then selects the user libraries to add, and clicks on the Finish button to terminate the operation. Note that the button is not available until at least one user library is selected.
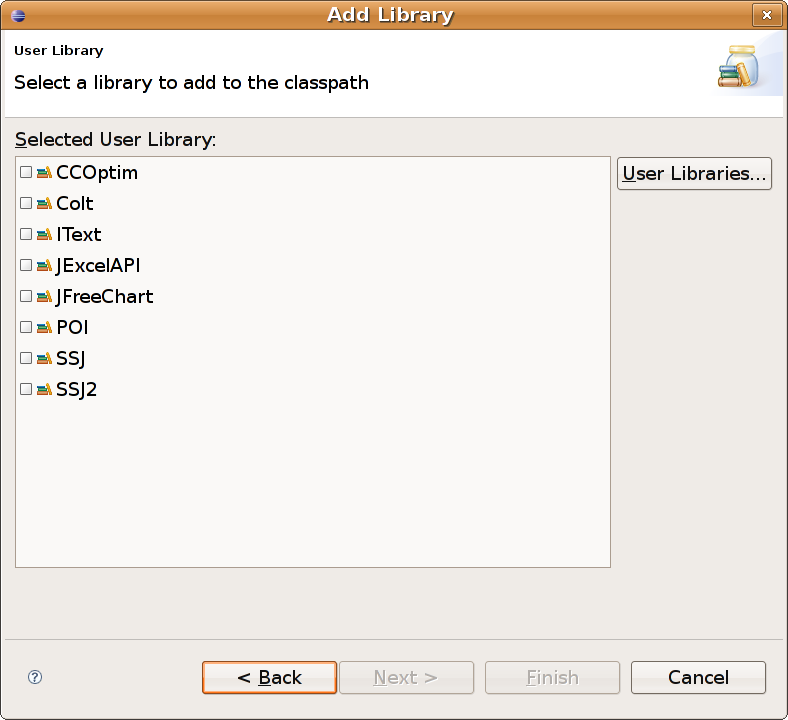
After the project properties are closed using the OK button, the SSJ library can be used for the configured project.